How it's made: A Little Colonial Style Bed
This tutorial will help you make your own tiny colonial style bed. You will need:
- one standard length of 1mm thick bass wood (bass wood is available in most craft stores);
- half a standard length of 2mm thick bass wood;
- Small piece of 3mm thick basswood at least 70mm x 50mm;
- PVA wood glue;
- a craft blade, such as a Stanley knife.
Colonial Bed
**Note: the measurements given below are for 1:24 scale. If you would like to make the bed in 1:12, double the measurements (including the wood thicknesses).
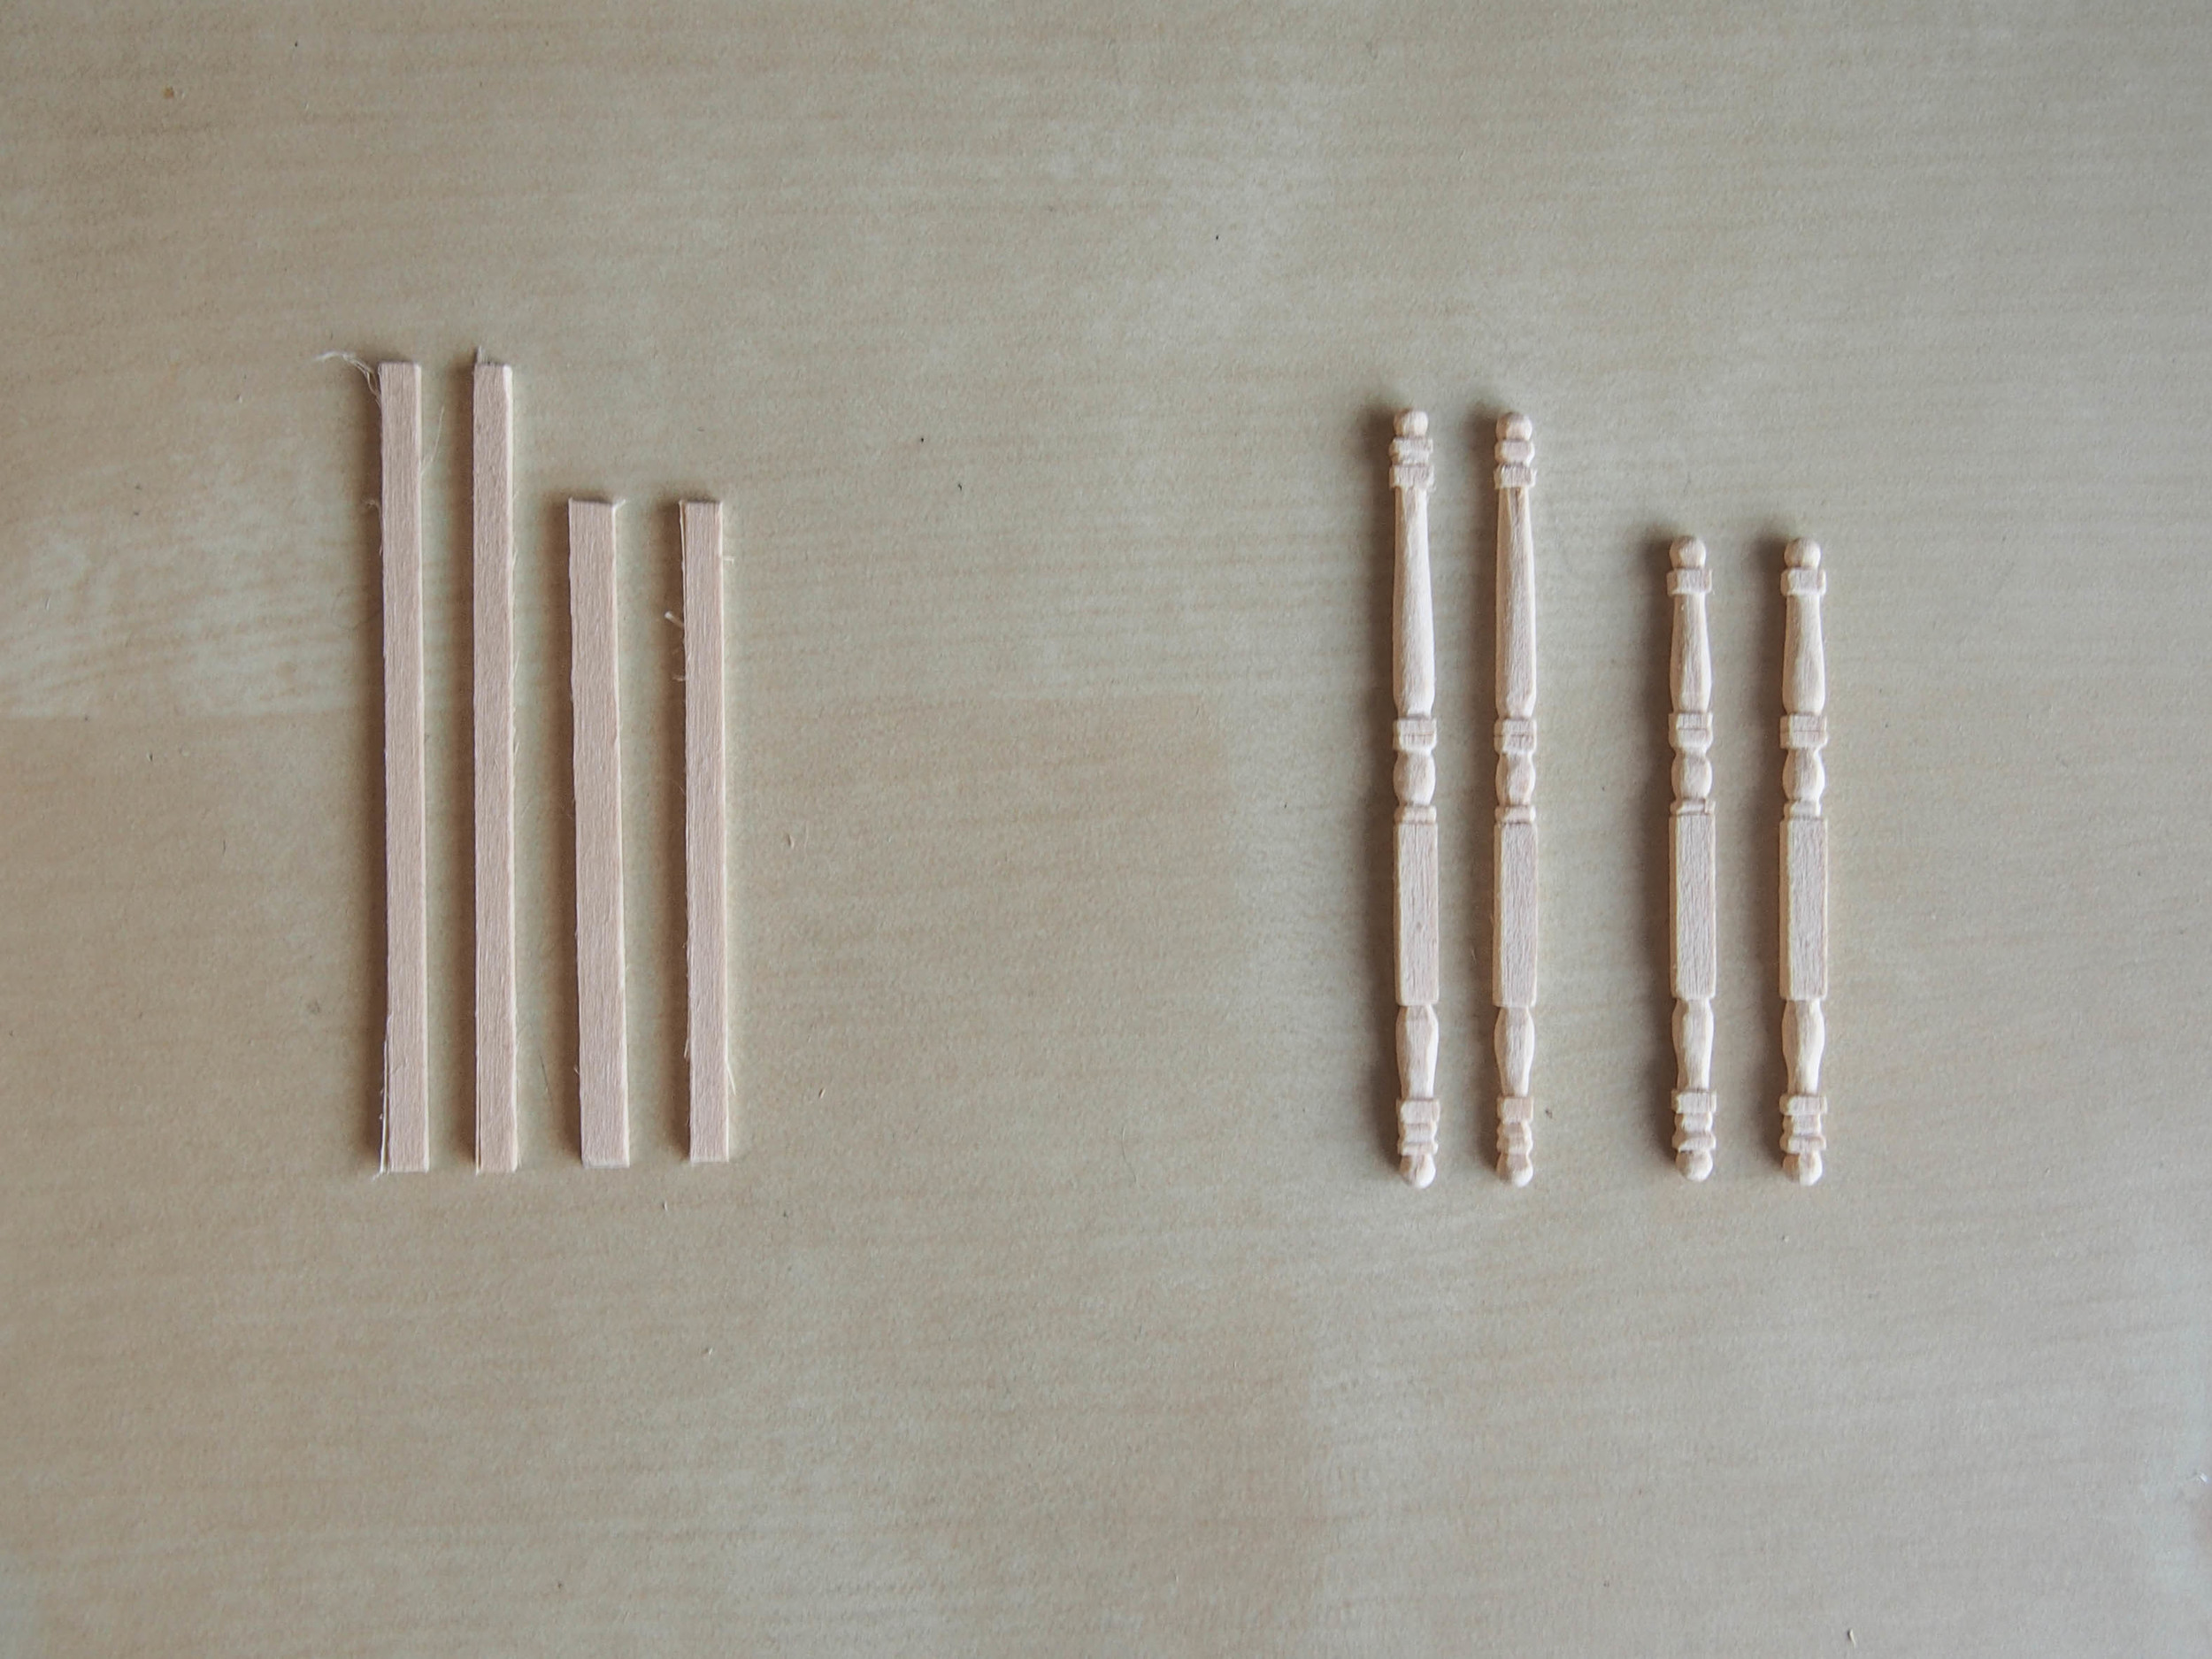
1. The first step is to cut out the pieces for the sides, internal structure, posts, headboard and footboard of the bed. These will include (as pictured above left):
- 2 x side boards in 1 mm thick wood (73mm x 10mm) *these can be shaped as I have or left rectilinear;
- 2 x end boards in 1 mm thick wood (34mm x 10mm);
- a piece in 1 mm thick wood which will later be shaped into the headboard and footboard (34mm x 25mm) *this dimension may vary depending on the design you choose for the headboard and footboard.
- 2 x internal side bars/strips in 2mm thick wood (73mm x 3mm)
- 2 x internal end bars/strips in 2mm thick wood (34mm x 3mm)
- 2 x post strips in 3mm thick wood (60mm x 3mm) *these will be turned or carved so try to make them square.
- 2 x post strips in 3mm thick wood (50mm x 3mm) *these will be turned or carved so try to make them square.
2. Now you must carve or turn the desired design into the bed posts. My design is taken from a simplification of a historic pattern. As you can see above right, the image shows the uncarved posts on the left, and the carved posts on the right. The measurements that I gave above for the posts left 5mm leeway for each posts; the finished posts should be 5mm shorter than the stated measurement above.
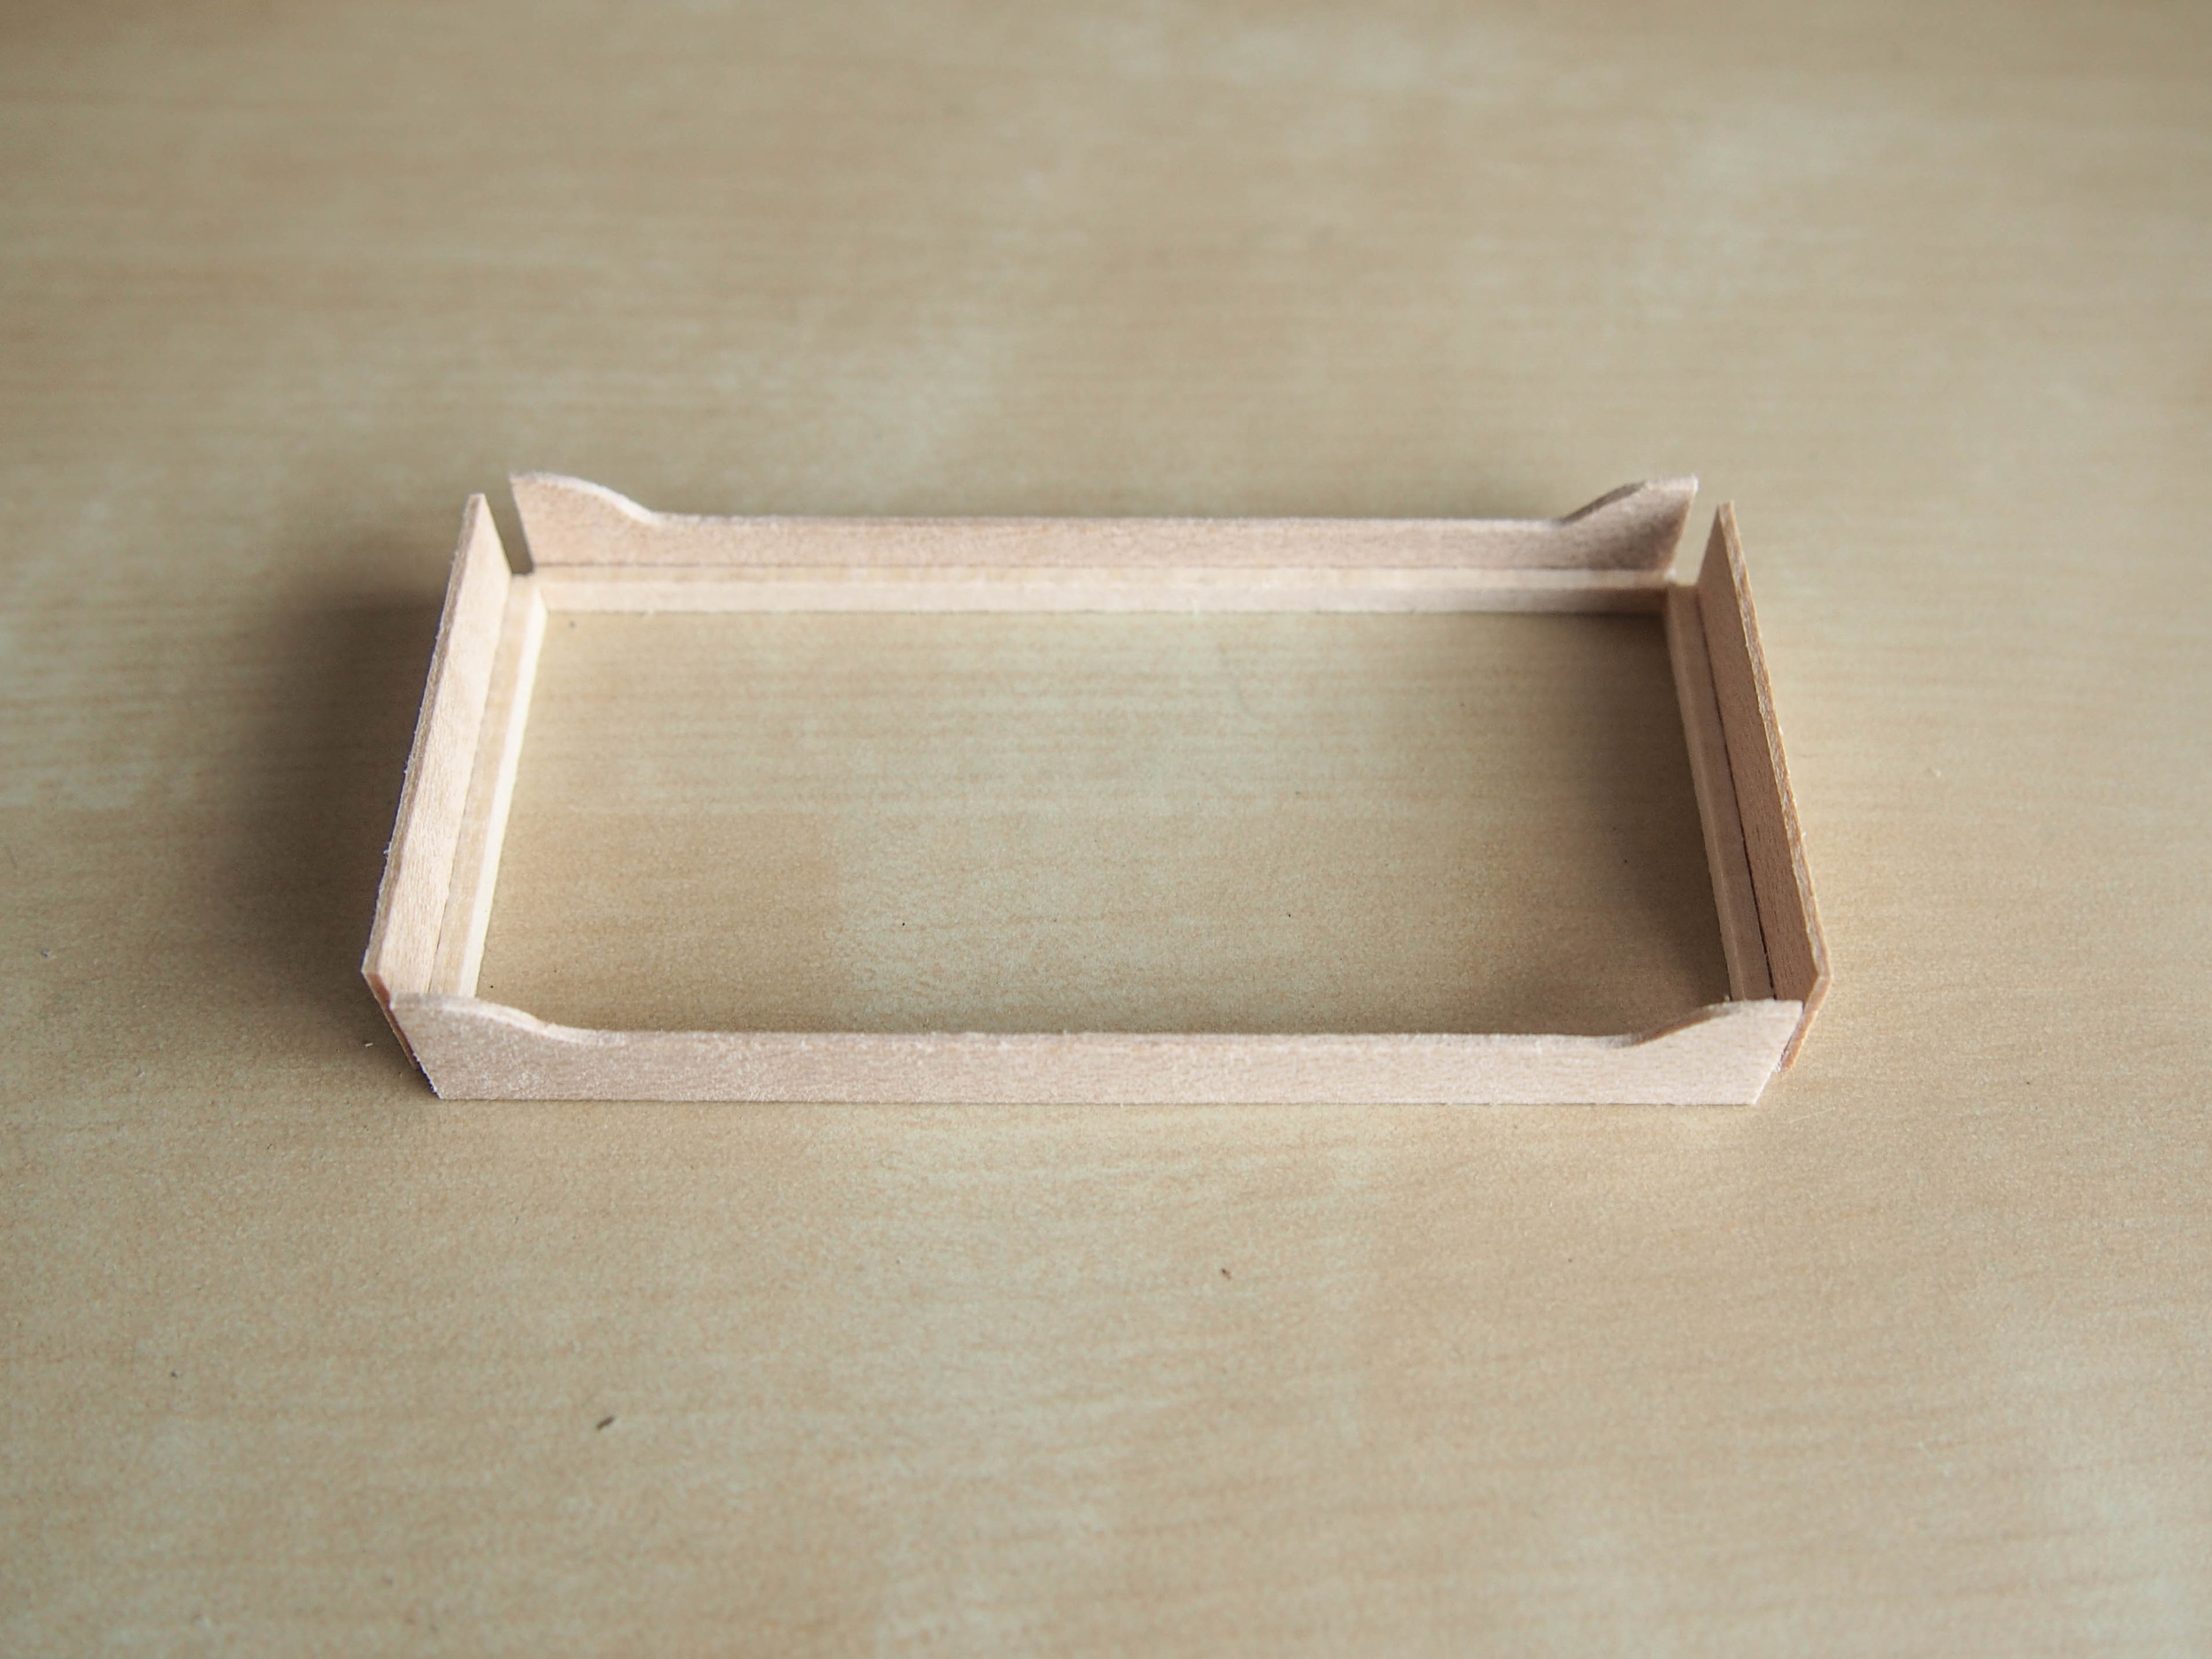
4. Take the four internal side and end bars and glue together to create the basic internal frame. Mitre the corners so they fit neatly and snugly (see rectangle they create above left)
5. Glue the end boards and sideboards to the internal frame (as pictured above right). Keep in mind the internal frame is slightly larger in dimensions than the side and end boards. That is because the posts will pit snugly into the corners. Once glued, take your blade and cut into each corner of the internal frame, so to make a square slot for the posts to fit in (see this detail below left).
*TIP: Insert discrete cross supports at the sides of internal frame to prevent warping.
6. Glue the posts into the corner slots of the frame. Ensure that all posts are glued at uniform heights otherwise the bed will not stand squarely.
7. Finally, cut 8 x slats in 1mm thick wood (4mm x 37mm) and glue onto the internal frame, and you are finished!


