How it's Made: French 18th Century Daybed
This tutorial will show you how to make an 18th century French style fireplace. You will need:
- one standard length of 3mm thick bass wood (bass wood is available in most craft stores);
- one standard length of 1mm thick bass wood;
- one standard length bass wood veneer;
- one standard length of 1mm thick balsa wood;
- one standard length of 5mm thick balsa wood;
- Wood glue or PVA craft glue;
- Standard craft blade & assorted small carving blades;
- fine sandpaper;
- Acrylic paint for finishing.
Daybed
**Note: the measurements given below are for 1:24 scale. If you would like to make the daybed in 1:12, double the measurements (including the wood thicknesses).
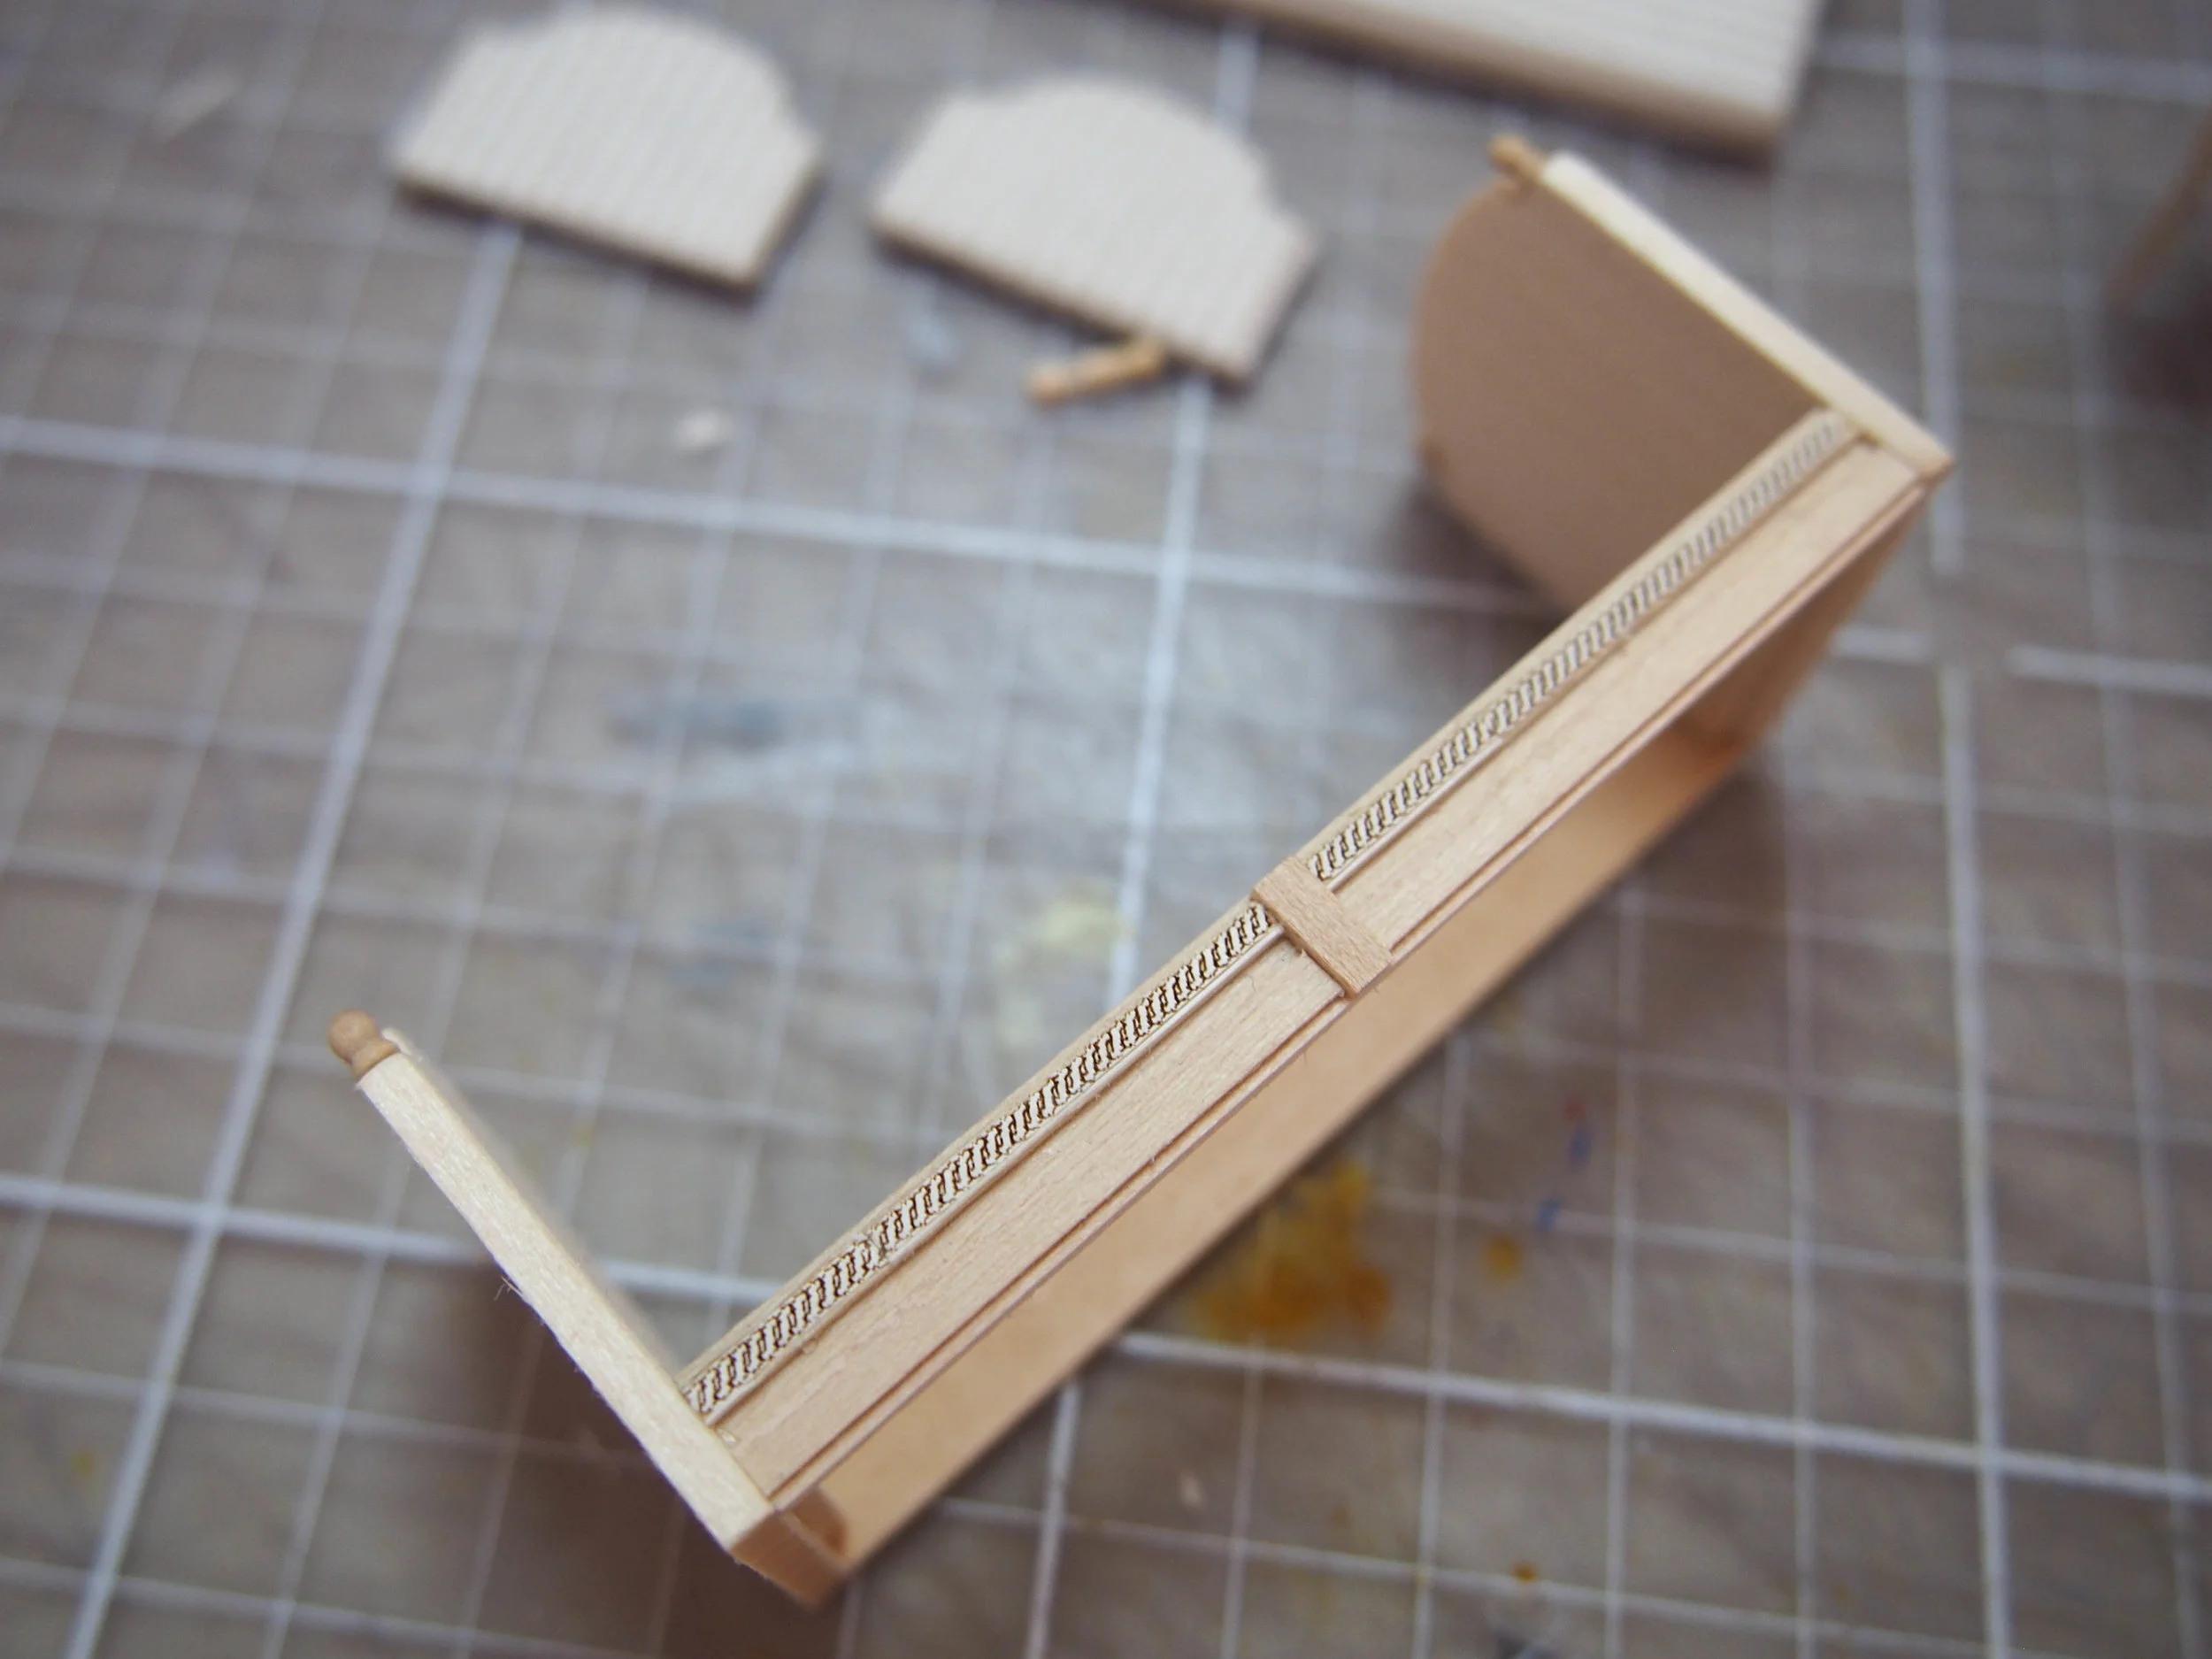
1. Begin by cutting the basic shapes you need for the from from 2mm basswood. This includes the end boards and two cross bars. Because only one side of the daybed will be seen, you need only make one of the cross bars decorative.
2. You must then cut some pieces from 1mm balsa wood which will form the cushions for each end board. Sand the edges smooth and then cover with your chosen fabric. You can cover them quite roughly at the back (shown above far right).
3. You must then glue the frame together as shown above left.
4. Within the frame, glue a cross bar (above centre) on which the mattress will rest.
5. You can then add an embellishment to the end boards (above right). I turned these seperately and then glued them on.
6. You must then make the mattress. Cut it from 5mm balsa. Sand the edges smooth, and then cover it with your chosen fabric.
7. Paint the frame of the bed you chosen colour and then glue in the matress and endboard cushion panels.
8. You must then add the legs. I turned them, but you can also buy turned legs ready made. There will be three across the front, so add a support piece in the centre of the cross bar. Glue the legs on.
9. To make the round cushions, use two sections of balsa wood dowel. Cover these with white fabric as shown above. Use a plastics based glue because it will dry almost undetected on fabric.
Side Table
1. Next you must make the side table. Cut two circles, one from 1mm basswood and a slightly smaller one from basswood veneer.
2. Glue these together to give the top of the table a bevelled edge as shown above right.
3. You must turn the middle leg of the table. I used a dremmel tool to do this, but you can buy a turned piece ready made or shape it with a blade.
4. Cut the three table legs, and then glue them to the base of the table, and paint the entire table a colour of your choosing.


