How it's Made: Mid Century Record Player and Cabinet
This tutorial will show you how to make a record player and cabinet. You will need:
For the cabinet:
- one standard length of 1mm thick bass wood (bass wood is available in most craft stores);
- one small piece of 2mm wood;
- all purpose plastic based glue;
- Standard craft blade & assorted small carving blades;
- fine sandpaper;
- Wood stain and shellac (french polish).
For the Record player:
- A small piece of 5mm balsa wood;
- one sheet of fine veneer wood (can be bought at craft stores, has adhesive backing);
- one small length of jewellery wire;
- Glue stick, the type used to glue paper to paper;
- Standard craft blade & assorted small carving blades;
- Wood stain and shellac (french polish).
- Four small nails and one small brass tack;
- grey crete paper;
- black paint and black fine liner.
Cabinet
**Note: the measurements given below are for 1:24 scale. If you would like to make the cabinet in 1:12, double the measurements (including the wood thicknesses).
1. Begin by cutting the two sides and top and bottom plates of the cabinet from 1mm wood. The sides will measure 15mm x 20mm. The top and bottom will measure 20mm x 30mm.
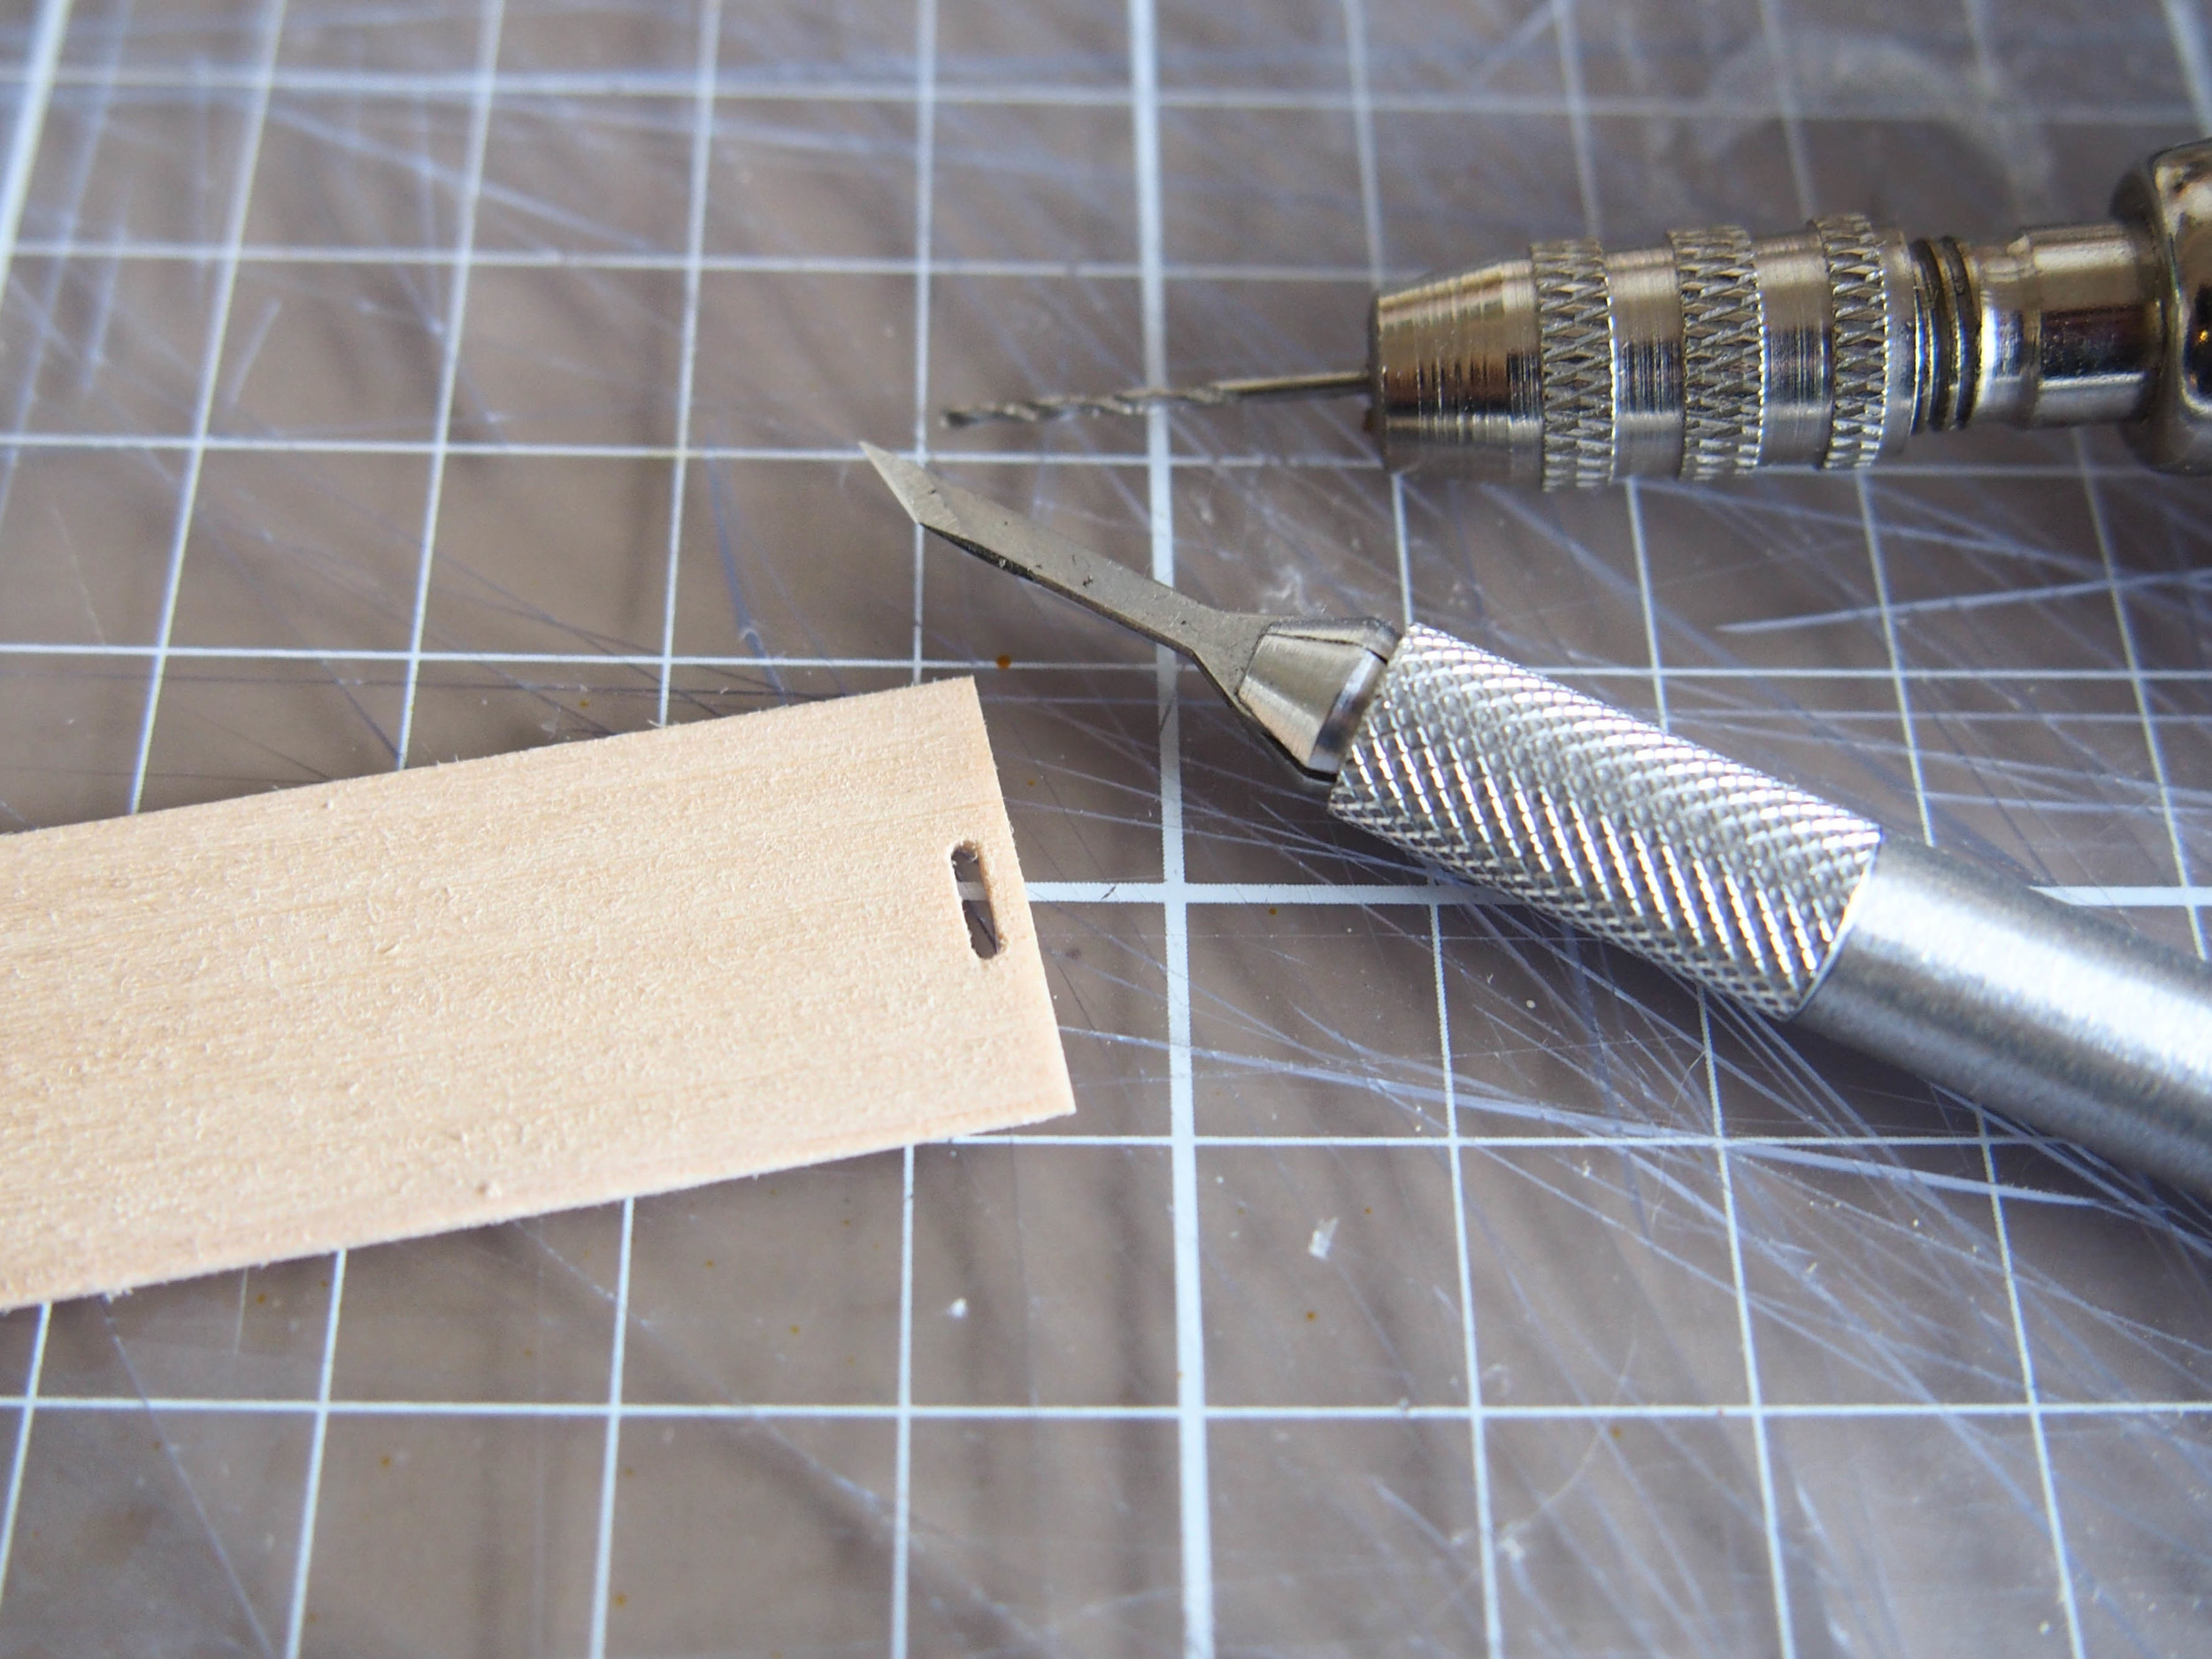
2. Next you will need to cut out the front sliding pane from 1mm wood. This panel will measure 12mm x 15mm. This panel requires a small hole as a handle. This can be achieved (as above) by first drilling two small holes and then cutting out between them. In the alternative, a small brass nail can be used as a handle.
3. Because the front panel is a sliding door, you must now cut a grove as above right along the edge of the top and bottom panels, which the door will slide in.
4. Once all five pieces are cut out, stain the wood the colour you wish. I used a teak wood stain, and I combined it with shellac in order to add a sheen. I apply this mixture over a long period in about 10 thin coats.
***TIP: if you are staining wood, it is important to do this before you glue the pieces together. This is because the glue on the surface of the wood will obstruct the smooth coat of the stain and leave an unsightly surface.
5. Now you can glue the five pieces of the cabinet together. Because the front panel door is sliding and not glued in place, I used small pieces of blue tack to hold it in place while I glued the surrounds.
6. Once the five stained pieces are glued together, you can add in a plain back panel in 1mm wood, and also four small legs cut from 2mm wood (these should be sanded to make them round).
Record Player
1. Cut a small piece of 5mm balsa wood in 20mm x 25mm.
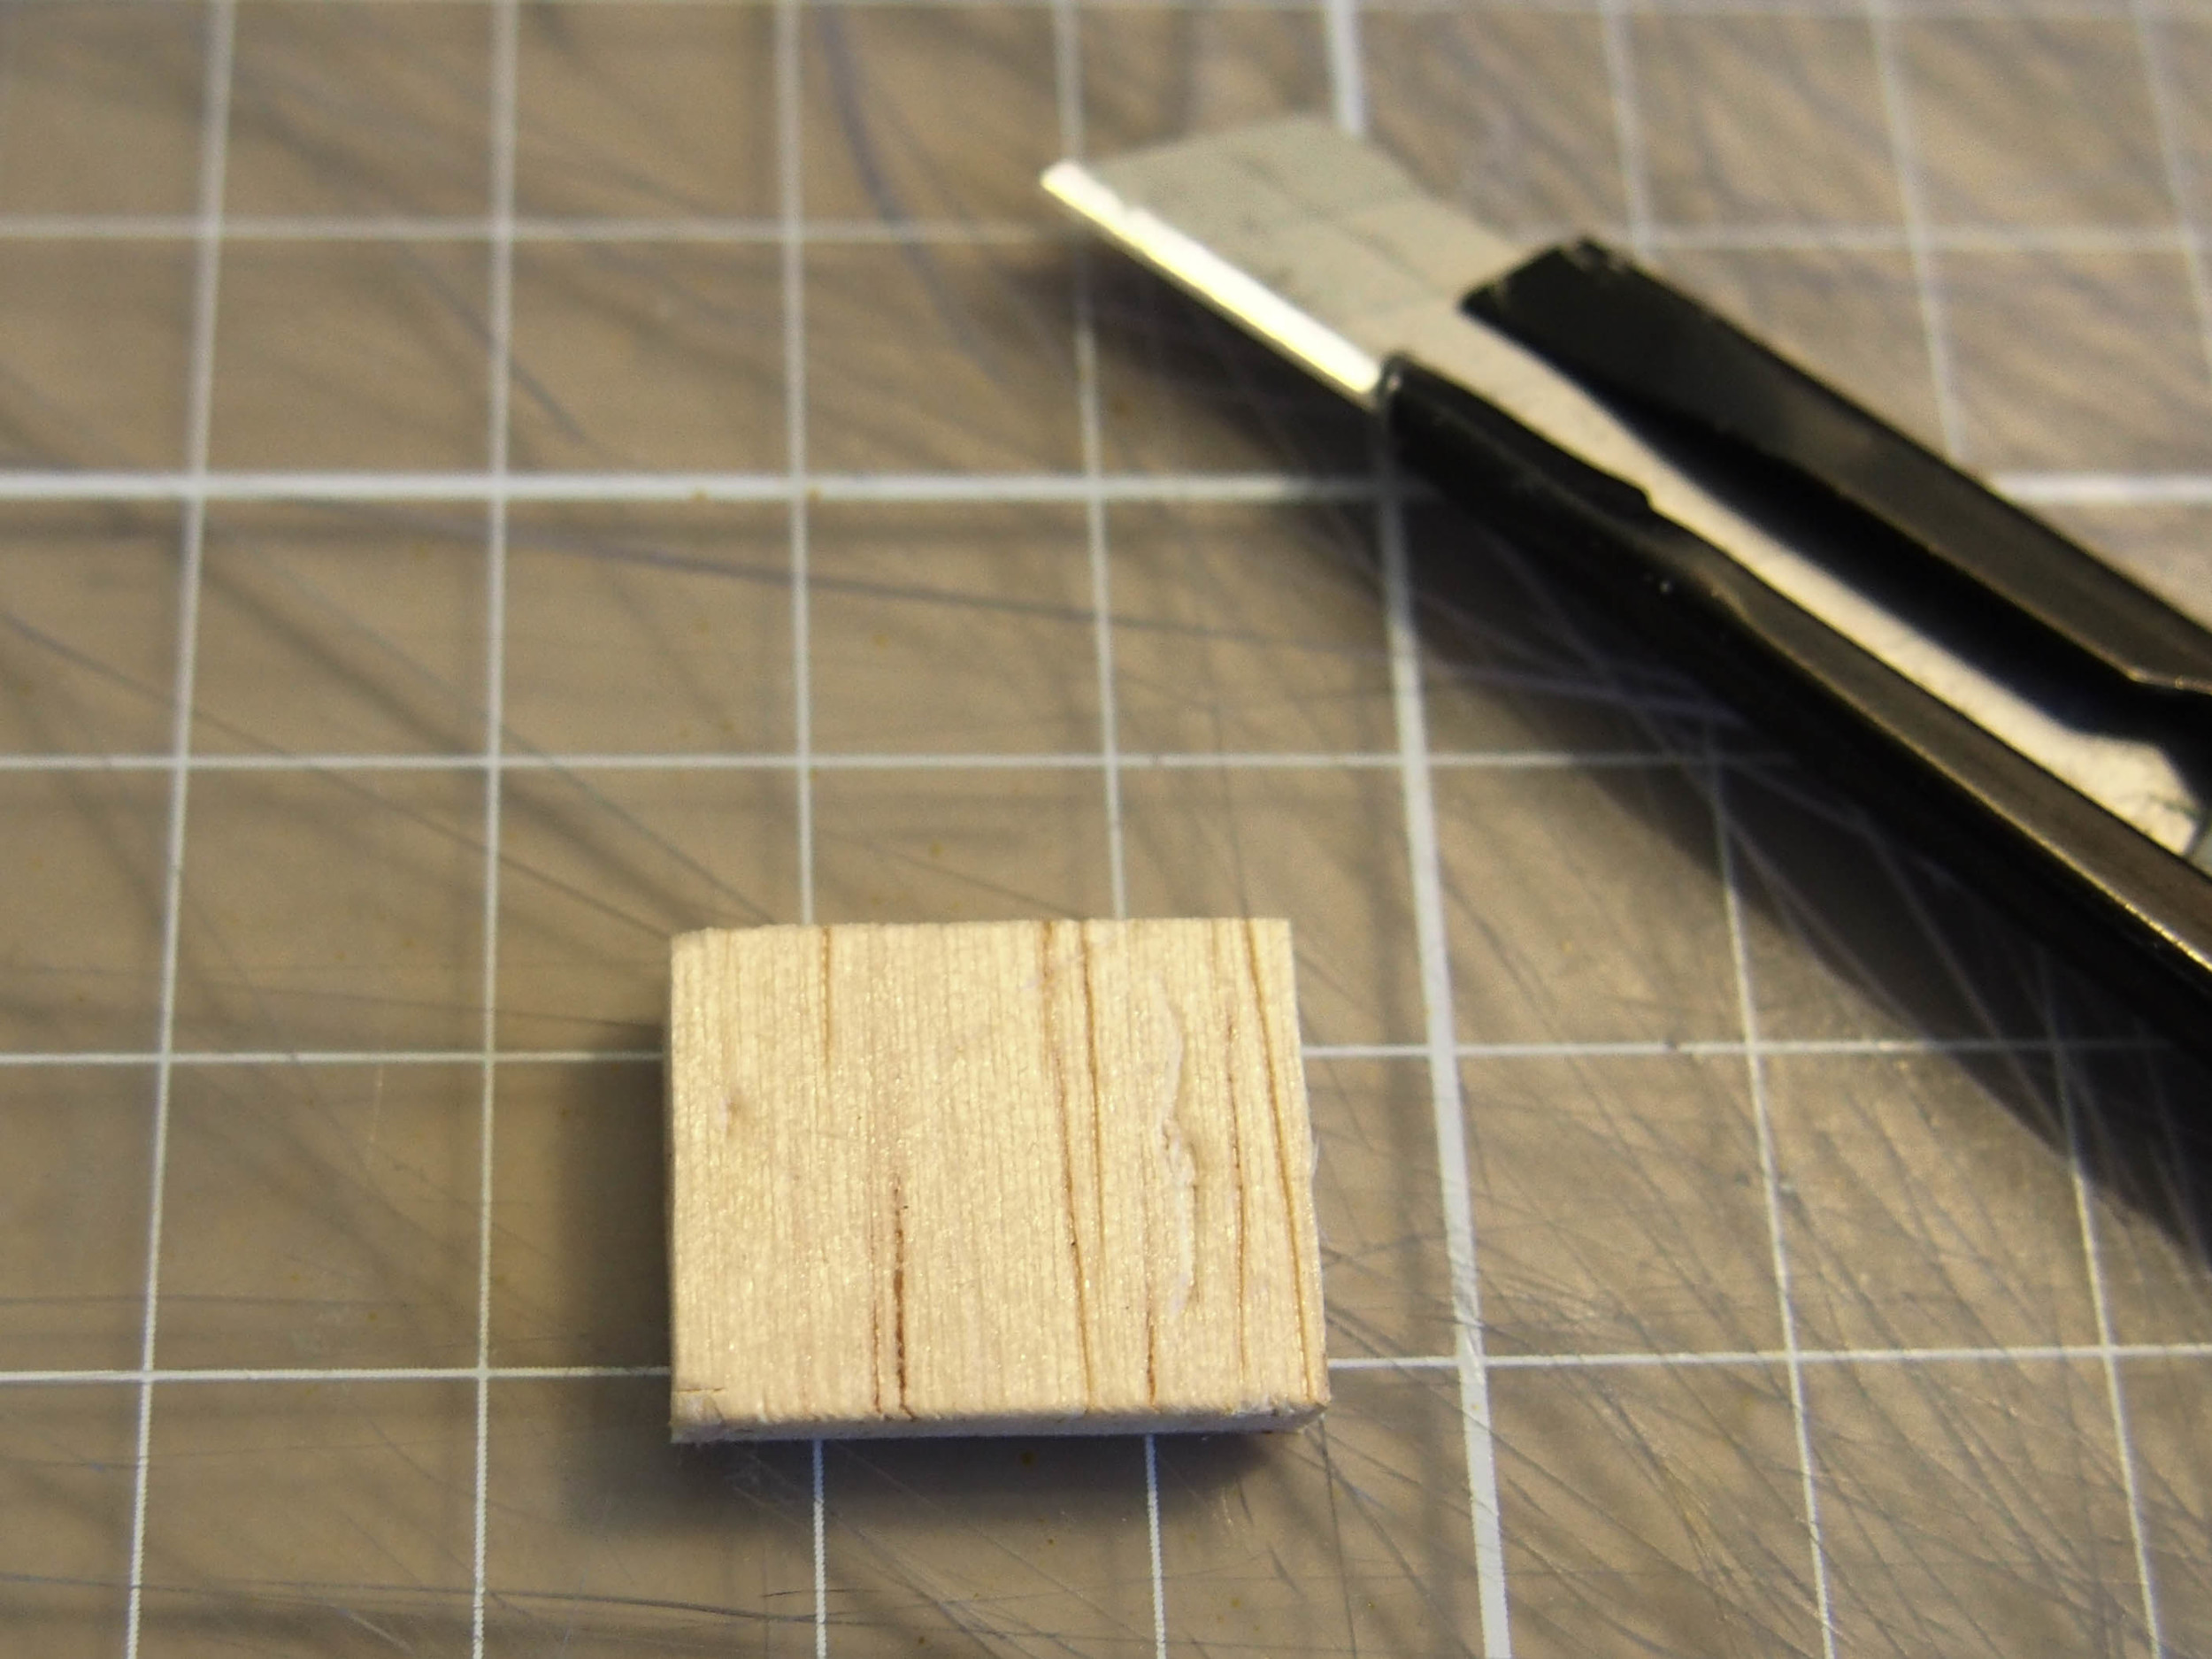
2. You will be veneering this piece of balsa using fine craft wood veneer. First you must stain this veneer (as shown above middle). Once it is stained peel off the wrapping at the back and stick it to the balsa. You can get a very neat finish if you wait to trim the veneer down once you have already stuck it to the balsa. Repeat this on the top and four sides (no need to veneer the base).
3. Once the player is veneered you can choose to add small feet to the base (I decided not to do this in the end).
4. As shown above right, you must now make the mat of the record player, where the records sits to play. I did this by cutting another square of veneer and painting it black. Over this I placed a piece of grey crete paper I had cut into a circle. In the centre I took a piece of 24 gauge jewellery wire and pressed it in.
5. To make the arm I used another piece of jewellery wire. To this I glued a piece of 1mm wood I had shaped and painted black with a fine line marker pen.
6. To add the buttons on the front of the player, use small nails. I used four 1:24 scale hinge nails, and one small brass tack for the large button.
Free Download:
7. Now its time to make your little records! You can download the above record pattern and print at natural size for 1:24 scale. They should be cut out and folded as above.
And you're finished!


